This guide walks you through the complete MANAEL Hunter Chassis installation process.
Before You Begin
Pre-install safety checks: Read all instructions twice before starting. Ensure you are familiar with all local laws and requirements relating to firearm handling and modifications.
Safety first: Check your rifle is unloaded, remove all magazines, and confirm the firearm is clear, and in safe working order before beginning any work.
What You Will Need
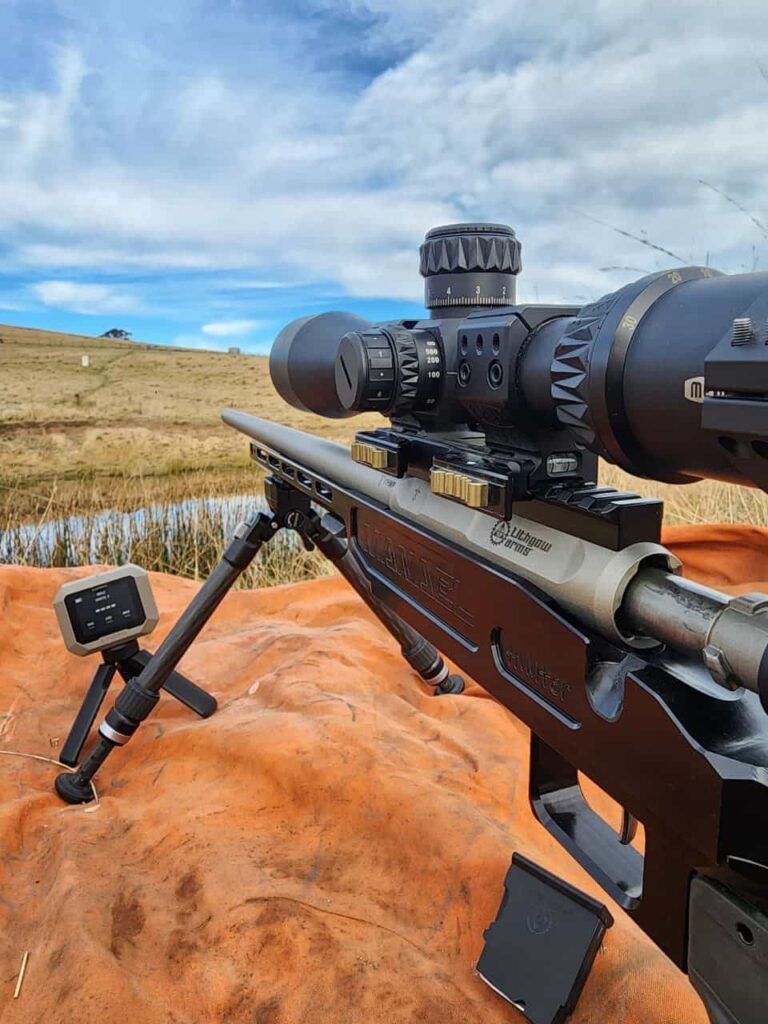
- MANAEL Hunter Chassis
- Barreled action
- Magazine (empty, for fit testing)
- Allen keys: 5mm and 6mm
- Vice (optional but recommended)
Step 1 — Assemble the Chassis
The chassis may ship with the rear stock and/or grip detached. Complete chassis assembly before installing your barreled action.
Attaching the Rear Stock
- Remove the rear stock screw.
- Align the SCSA Mount interface between the rear stock and the chassis body.
- Insert the screw and tighten firmly.
NOTE: MANAEL Hunter Chassis ship with action screws installed. When tightened, the chassis components lock together with precision, creating an exceptionally rigid and strong platform.
If you find the rear stock mount is difficult to slot into position, loosen the rear action screw (located just behind the trigger guard) to create a small amount of relief.
Once the rear stock is seated, tighten the rear action screw back up firmly and everything will lock securely into place.
Attaching the Grip
- Using a 6mm allen key, locate and undo the grip screw on the base of the chassis. Note: The chassis body contains a grip nut inside. Ensure this nut remains in place throughout the process.
- Place the new grip onto the chassis body, aligning it over the grip nut.
Note: The grip may be very tight to push into place. this is by design to accommodate variation in grip brands and sizes, so the chassis is compatible with most A2 style grips. - From the base of the grip, insert the screw into the locator nut and tighten with the allen key firmly, until tight.
Removing or Changing the Grip
- Insert the allen key into the base of the grip and locate the grip screw.
- Unscrew the screw and work the grip free by hand.
Note: Take care not to lose the grip screw nut. If it falls out, replace it inside the grip mount before fitting the new grip. - Place the new grip onto the grip mount, ensuring grip nut is in position.
- Insert the screw from the base of the grip and tighten with the allen key.
Step 2 — Remove the Barreled Action from Your Existing Stock
- Confirm the firearm is unloaded and safe along with other pre-safety checks.
- Using the appropriate allen key, unscrew the front and rear action screws.
- The barreled action should now be free to lift away from the existing stock.
Tip: A vice holding the stock upright, or laying the rifle on its side, can help prevent the rifle from shifting or falling as the action comes free.
Step 3 — Install the Barreled Action into the Chassis
- Place the barreled action into the MANAEL Hunter Chassis. The chassis is machine bedded for a precise, tight fit. Tikka models: The Hunter Chassis includes an integrated recoil lug. Remove any factory recoil lug from the action before installation.
- Install the supplied action screws.
Note: Action screws may need to be shortened, depending on your rifle model. This may be done using a file, grinder or similar tool. - Tighten to your rifle manufacturer’s recommended torque specification for action screws. They should feel firm.
Note: The Lithgow LA101 rear action screw has a very low torque requirement.
Step 4 — Confirm Action Screw Clearance
Important: Do not cycle live or dummy ammunition until action screw clearance has been confirmed. Bolt must travel freely and fully close bolt handle without any resistance.
- Insert the bolt and cycle it by hand to check for smooth operation.
- If the bolt makes contact with either action screw, the screw must be shortened. Trim to length using a file, grinder, or similar tool.
- Repeat until the bolt cycles freely with no contact.
Step 5 — Test Magazine Fit
- Insert your empty magazine and confirm a secure, positive fit.
- For chassis models with an integrated magazine latch: test that the latch holds the magazine firmly, and familiarise yourself with the release mechanism. Note: Some polymer magazines change dimensions when fully loaded. Test fit with both an empty and a fully loaded magazine at an approved/authorised gun range to ensure reliable function in both conditions.
Step 6 — Function Test
- Using dummy rounds (no live ammunition), cycle several rounds through the action to test magazine feeding, extraction, and ejection.
- Confirm everything feeds and extracts smoothly.
Assembly Complete
If all steps above have been completed successfully, your MANAEL Hunter Chassis is installed and ready for your next adventure.
For questions or support, contact our Australian distributors Ignition Custom Engineering.